¶ Introduction
This is a guide to extracting audio files from the game.
It covers:
- Extraction
- Converting
.wemto.wav - Categorizing
- Parsing
.bnkto.xml
¶ Requirements
- Python3
- The main script we’re going to be using is a python script, you’ll need to have it installed.
- lslib or BG3 Modders Multitool (with lslib as well)
- Either can be used to extract the
.pakfiles for sound
- Either can be used to extract the
- bg3-sounds-converter script
- This is what brings it all together, it’s the script we’ll be editing and then kicking off.
- vgmstream
- vgmstream is a library for playing streamed game audio. This is what converts our game audio to a format we can listen to.
- wwiser
- wwiser is used to convert
.bnkfiles into XML.
- wwiser is used to convert
¶ Setting up the directories
Start with dowloading the bg3-sounds-converter script.
It will come as a zipped file, extract it wherever you would like, but somewhere you can remember.
For the purpose of this tutorial, I will be using: E:\GitHub\BG3\bg3-sounds-converter
Next, go get vgmstream.
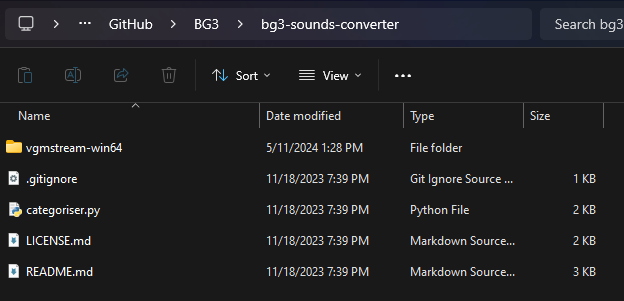
For convenience, let’s extract it to the same directory as bg3-sounds-converter.
Your directory should now look like this:
Next, go get wwiser
You’ll need both the wwiser.pyz and wwnames.db3 files from the releases page.
Place them in the same directory as before.
¶ Extraction
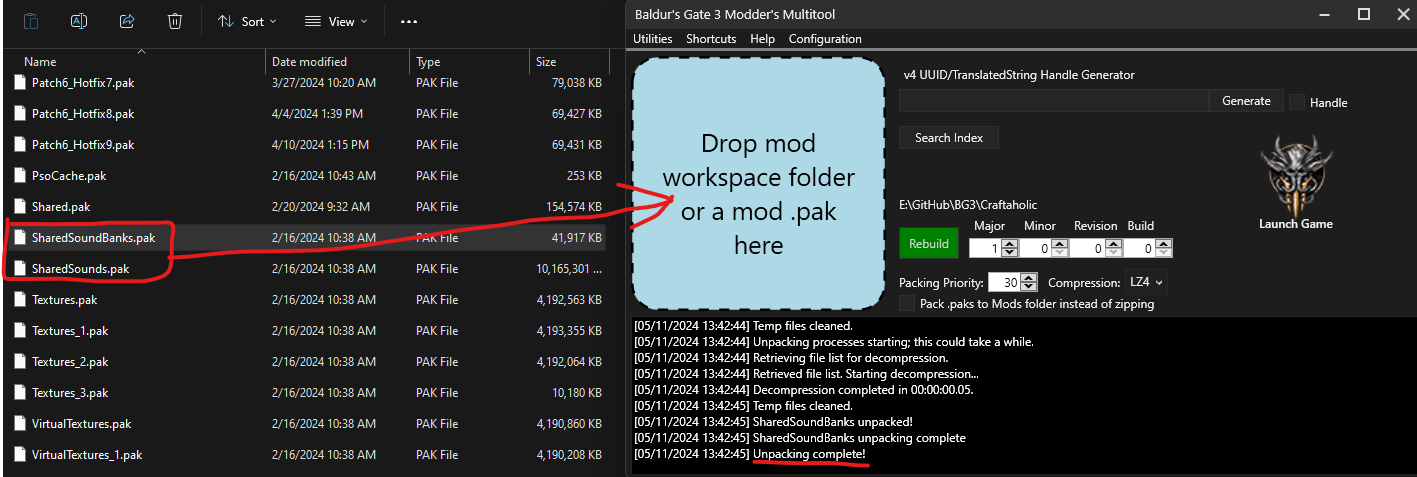
Locate the SharedSoundBanks.pak and SharedSounds.pak packs.
Use either lslib or BG3 Modders Multitool to extract them.
For this demonstration, we’ll use the Multitool.
As far as we know, all voice lines, music, sound effects, ambience, etc, should be located in these two packs.
The paks will be in Baldurs Gate 3’s Data directory.
For me that is: \SteamLibrary\steamapps\common\Baldurs Gate 3\Data | adjust accordingly for your steam install.
Drag your .pak(s) to the blue square in the Multitool to unpack them.
They’ll be extracted into the Multitool’s directory under UnpackedData.
Example: \bg3-modders-multitool\UnpackedData\SharedSounds\Public\Shared\Assets\Sound
¶ Python script
This sections walks through configuring and executing the script
¶ Configuring the script
From your bg3-sounds-converter directory, right click the categoriser.py file and Open with a text editor (Npp, VSC, Atom, etc). Don’t double click it
The important lines in this script are lines 6 through 14, which should default to this:
should_convert = True
should_decode_banks = True
should_categorise = True

wwizer_pyz = ""
folder_vgmstream = ""
folder_banks = ""
folder_audio_raw = ""
folder_audio_converted = ""
We have to add our paths to the bottom 5 lines and specify in the first 3 if we want certain actions to happen.
On the first run, we’ll have all 3 of these values stay set to true.
If you need to re-run for any reason, you can choose to only run certain actions happen by changing the other values to False.
For the wwizer_pyz line, you’ll want to set the path to the file, including the extension.
For the folder_vgmstream line, this is the path to the directory for vgmstream.
For the folder_banks line, this is the path to the directory for the extracted .bnk files.
For the folder_audio_raw line, this is the path to directory for the extracted .wew files.
For the folder_audio_converted line, this is the path where you want the coverted files to go.
In python, for Windows directories, you have to escape backslashes with a backslash. So your destination will end up with two backslashes instead of one. Example:
bg3-sounds-converter\\wwiser.pyz
Using the same example directory from before,the final configured paths should look like this:
wwizer_pyz = "E:\\GitHub\\BG3\\bg3-sounds-converter\\wwiser.pyz"
folder_vgmstream = "E:\\GitHub\\BG3\\bg3-sounds-converter\\vgmstream-win64"
folder_banks = "E:\\GitHub\\BG3\\bg3-modders-multitool\\UnpackedData\\SharedSoundBanks\\Public\\Shared\\Assets\\Sound"
folder_audio_raw = "E:\\GitHub\\BG3\\bg3-modders-multitool\\UnpackedData\\SharedSounds\\Public\\Shared\\Assets\\Sound"
folder_audio_converted = "E:\\GitHub\\BG3\\bg3-sounds-converter\\Shared\\results"
Please note, there is both a
Sharedand aSharedDevdirectory. After the first run, you’ll have to reconfigure for SharedDev and run again in order to capture everything.
Also be sure to adjust paths accordingly for your setup.
Now with that set, be sure to save the file and exit out.
¶ Running the script
Run the script normally, by double clicking it.
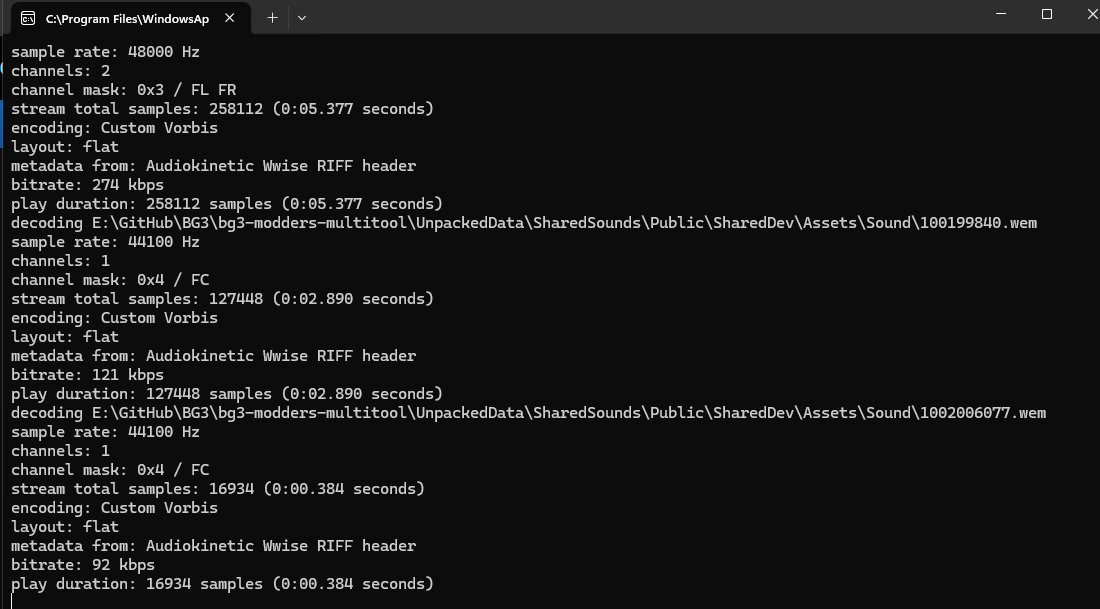
You’ll have a terminal window pop up a, with a fast stream of data being printed as it goes along.
It should look something like this:
This may take a very long time. Go get a snack and a drink, you’ve earned it.
¶ Extracted Files
Now that the files have been extracted, you get to dig through them!
As noted above, this script has done three things for you.
- Converted the extracted
.wemfiles into.wav, so you can listen to them with your standard audio program. - Organized the converted wav files into directories named from the soundbank they came from.
- Parsed the
.bnkfile into a.xmlthat you can open up and read.
¶ Listening to the files
Open up the results directory that you specified and you’ll find directories named after soundbanks.
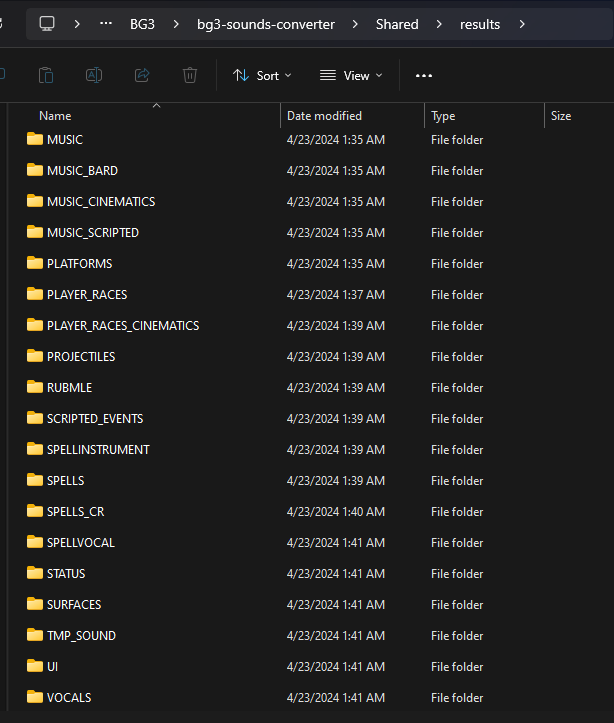
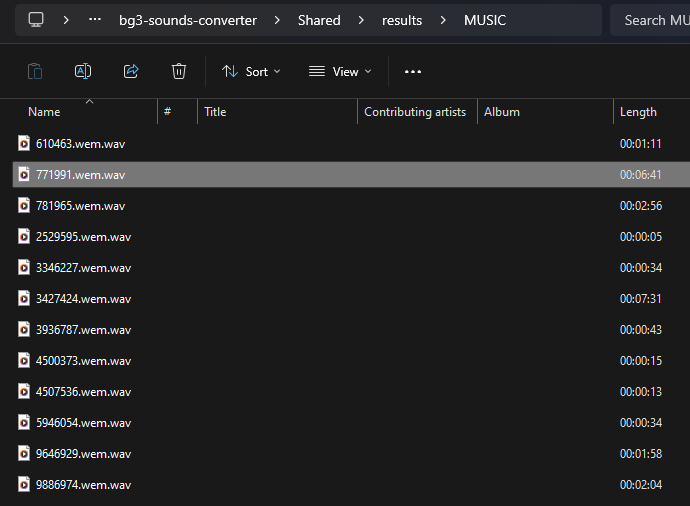
For an example, we can look inside the MUSIC directory.
You’ll see a list of files with numbers for names. Unfortunatly this isn’t very helpful in finding out what the sounds are.
If you right click on the bar with the headers (Name, Title, Album, etc) you can add “Length”, which tells you a little more about the clip before listening to it.
For example, you can see this highlighted file is 06:41 long, so it’s likely a full length song.
Versus one of the ones that are only 13 or 15 seconds long, they’re more likely piece of something, a build up, or a combat entrance, etc. You can click through each one to listen though.
¶ Reading the XML
If you navigate to where the extracted soundbanks are, you’ll find xml files were created for each soundbank.
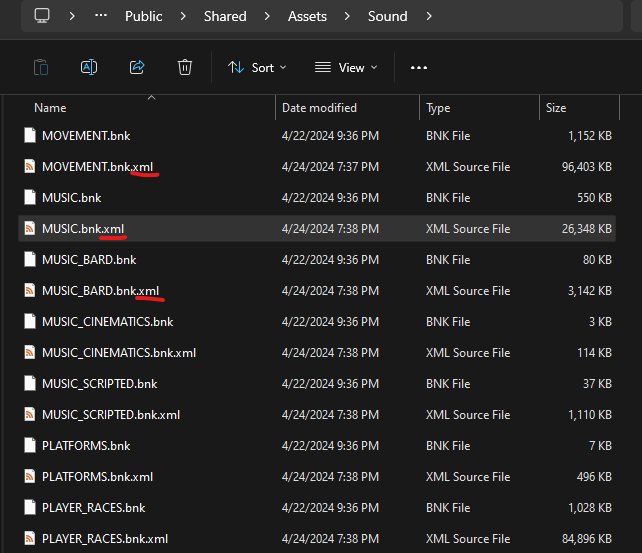
Full disclosure, the sound system for BG3 is very complicated
You likely won’t be able to gather very useful information from looking at these XMLs.
What you can search for is the filename of the .wem it should show up as a sourceID, which gives you the ulId of a track assigned to that .wem.
But again, due to the complex sound system, that track could be used in various different events or not at all.
¶ Credits
A GitHub user named s-thom created the bg3-sounds-converter script that we use, along with the instructions for setting it up. These instructions are mostly his, I’ve reworded and added to a few sections for clarity.
¶ Conclusion
With these extracted files, you can now dig through XMLs, listen to the beautiful sounds in the game, or even replace these sounds with sounds of your own!